Start Your Free Trial Today.
Blog
Blog

Import Multiple Contacts into CRM
If you're in need of contact info from another CRM or marketing campaign, you'll love the convenience of our Upload Contacts feature. Simply select the upload contacts button to instantly import anything from a single contact to an entire group of contacts – all with no hassle. In an instant, your spreadsheet will be loaded up and ready to get you one step closer to maximum efficiency.
Importing Contacts:
Before importing data into your CRM, you'll need to create a spreadsheet. Make sure to organize it wisely with clearly defined columns so the fields match those of your CRM.
Column Values Format
Those columns should include name, email and phone to ensure proper data entry. Don't forget that all fields will count when going through the import process, so pay attention to each little detail and make sure all fields match. Double check that every column header corresponds with its respective field in the CRM otherwise errors might occur during the import process, or data will not be pulled in accurately.
Contact Owner
To assign an owner to your contacts during the import, include the name of the 'User'
Acceptable formats:
FirstName LastName (e.g. Logan Paul or logan paul)
LastName FirstName (e.g. Paul Logan or paul logan)
Note: Unless the user has both FirstName and Last Name, the system will not recognize it during upload.
Phone Number
For the vast majority of cases, as long as you format the phone numbers in E.164 (Ex: +1 1234567890) our system will recognize it as valid, irrespective of the default Country picked at the sub-account level
Additionally, if you have set the Country to the US, the following would work perfectly fine as well
123-456-7890
(123) 4567890
1234567890
Email Address
Note: While the default unique identifier is "Email", the system allows you to choose fields other than Email for de-duplication purposes during the Bulk CSV Upload
Date Picker
Acceptable formats:
mm/dd/yyyy (e.g. 10/28/2020)
yyyy/mm/dd (e.g. 2020/10/28)
You can also replace '/' with '-' or '.' and it'll recognize the uploaded fields as a Date field.
Tags
Acceptable formats-
Value 1, Value 2, Value 3 ...... (e.g. Blue, Yellow, Green or Blue, Yellow, Green or Blue, Yellow, Green)
You can also replace ', ' with '; ' or ' . ' and it'll recognize the uploaded fields as the aforementioned field.
Steps for Importing Contacts
When importing contacts into your CRM, there are three essential steps to follow: Upload, Map, and Details. The process begins with uploading the contact data file, followed by mapping the fields to ensure proper alignment with your CRM's structure, and finally, reviewing and confirming the details to guarantee accuracy and completeness. This systematic approach ensures a seamless integration of new contacts into your existing database.
Upload
The first step is uploading the contacts from your device but before you upload the contact, make sure your file is ready to be imported;
All files being imported into the system must:
Be a .csv file
Have only one spreadsheet
Be smaller than 50MB (tip: a typical .csv file with 4 columns and 10,000 records will be ~500kb in size)
Include a header row in which at least one column header corresponds to a field in the system (i.e the First and last name, Phone number, Email et.c.) for;
Uploading ONLY New Records in the system
Choose 'Add New Records' in Step 3 of the Import Flow
Updating ONLY Existing Records in the system
Choose 'Update Contact Records' in Step 3 of the Import Flow. Or,
Both
Choose 'Both' in Step 3 of the Import Flow
Map
Once you've chosen the correct CSV to upload, it's easy to match your columns from that file with the contact fields in our system. Take a look at the designated preview column to get an overview of how well these columns are matched. You can select from the dropdowns to ensure the correct information is matched in your CRM or choose which columns from your CSV you would not like uploaded into your CRM. Plus, the huge benefit of this matching capability makes it so you won't have to laboriously reformat any details for different base systems. All of your necessary data can fit right into our simple matching process!
NOTE: If you have an unmatched column(s), you have to tick the "Don't import data in unmatched column" box in other to be able to move to the next step. You won't be able to move to the next step without ticking on it.
Details
This is the last step for importing contacts.
Import Name
This is the name used when importing the contact, you can decide to continue with the default name or you can edit it.
You can also create a new contact list with your import by ticking this box.
Advance
In the Advanced Settings, you can decide what you want to do with the contact in the CSV file, you can either;
Add New and Update Existing Contact Records
Here you can decide to add the new contacts to a new list and also update the existing contact list in your CRM with these new contacts.
Add New Contact Records
You can add the contacts to a new list only.
Update Existing Contact Records You can only merge the new contacts with the existing contacts.
Find Existing Contacts Based on (Primary)
If you are looking to merge or update your contact list, you can choose to bypass any existing contacts that are based off of a primary phone number. Furthermore, if you want to keep your contact list current and up-to-date, you have the option of not updating any empty values for the records that already exist.
Simply tick the box next to this option and continue with your synchronization efforts.
Tags
The tagging feature of your contacts can help you to organize and sort seamlessly. To add tags to your contacts, look in the tags box. You'll find an array of existing tags that you can select from. Alternatively, create a new tag altogether and assign it as you wish. You may also categorize your custom tags and see which ones are the most frequently used. Either way, you'll have an easy and efficient way to manage your contact list with whatever works best for you.
Add to workflow
With a few simple steps, you can add your contacts to an existing workflow or campaign. Start by toggling on the option and select the preferred workflow or campaign. You'll then see these contacts on the platform, so you can communicate with them whenever necessary. This outlines how simple it is to take advantage of workflow and campaign features.

Quick & Painless Payment Processing
Unlock Diverse Payment Options:
Maximize your revenue potential with our seamless payment processing capabilities, including one-time payments, installment plans, and flexible recurring subscriptions.
Transparent Transactions:
Rest assured, we never deduct a portion of your earnings, ensuring that your profits remain fully yours.
Seamless Integration with Stripe:
Our platform integrates seamlessly with Stripe for quick, secure payments, ensuring your earnings are deposited directly into your bank account.
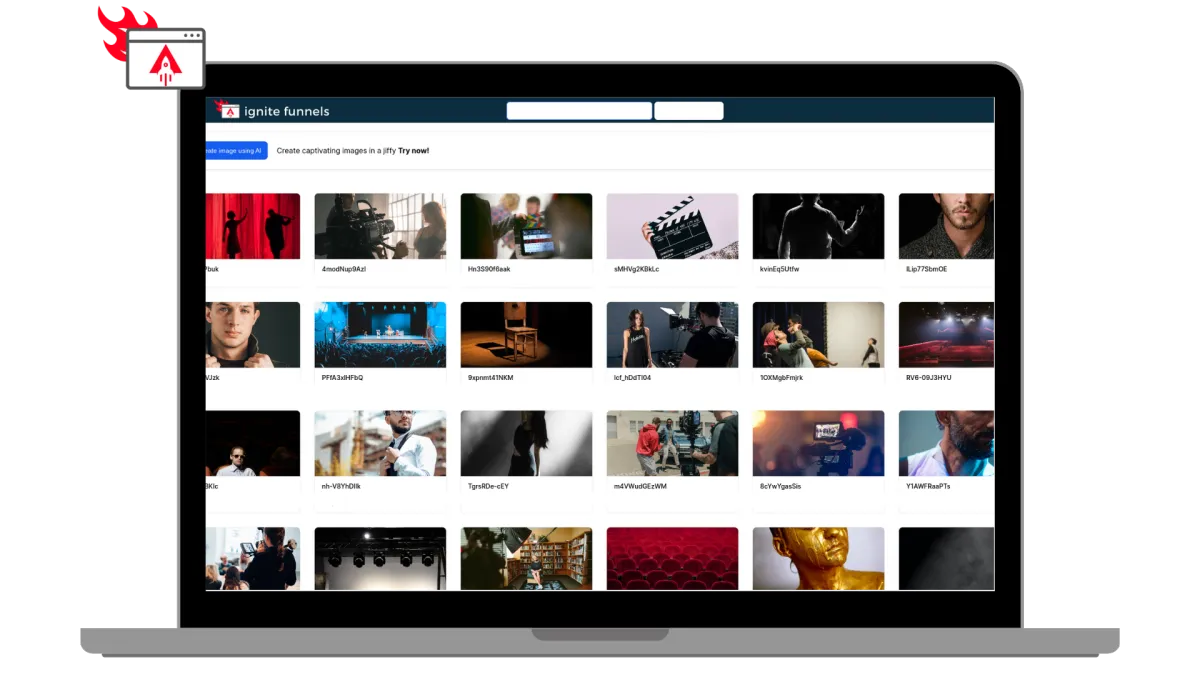
Built for Modern Learning Businesses
Designed for Modern Coaches, and infopreneurs. Ignite Funnels simplifies the transformation of your knowledge into impactful learning adventures. We're committed to crafting speedy, dependable, and secure technology that you can rely on to grow your business.
Unlimited Video Hosting:
Enjoy limitless video hosting capabilities at no extra charge.
Custom Branding + Domains:
Tailored Branding and Domains that you own.
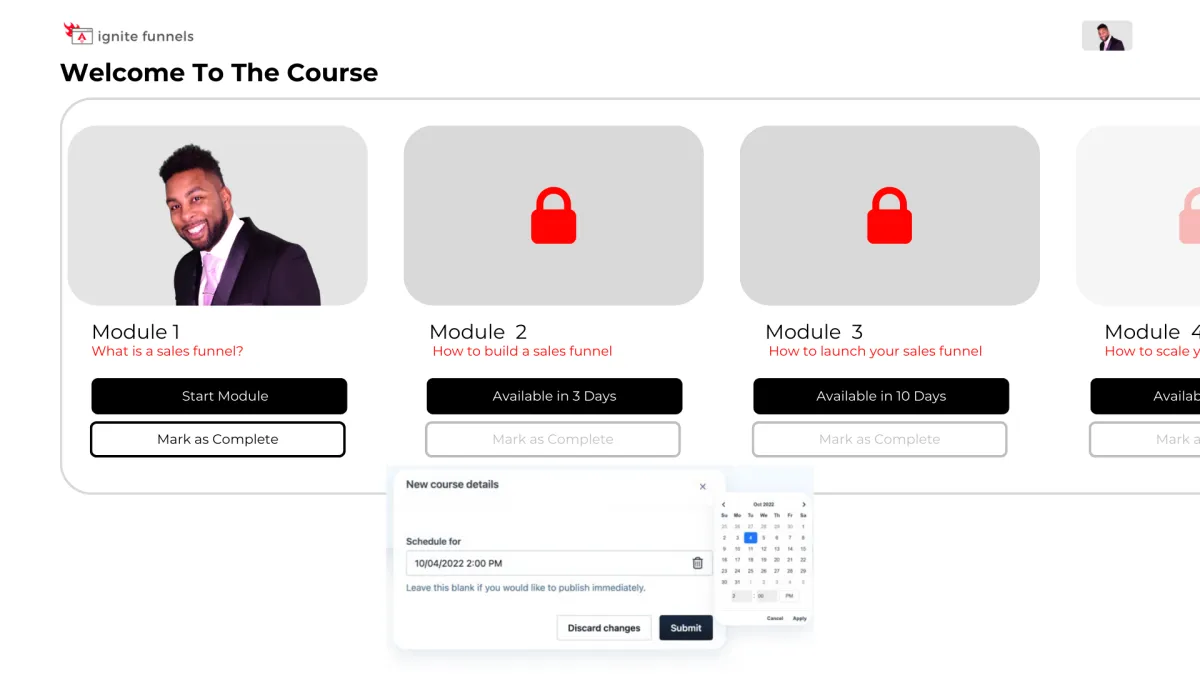
Schedule And ‘Drip’ Your Content
You have the ability to schedule courses for specific publication dates and 'drip' valuable content to your customers gradually! For instance, on Day 1, they gain access to Module 1, and so forth. This empowers you to PRE-SELL your online course and orchestrate a highly anticipated release event when it becomes available, followed by a steady drip of fresh content as it's created!
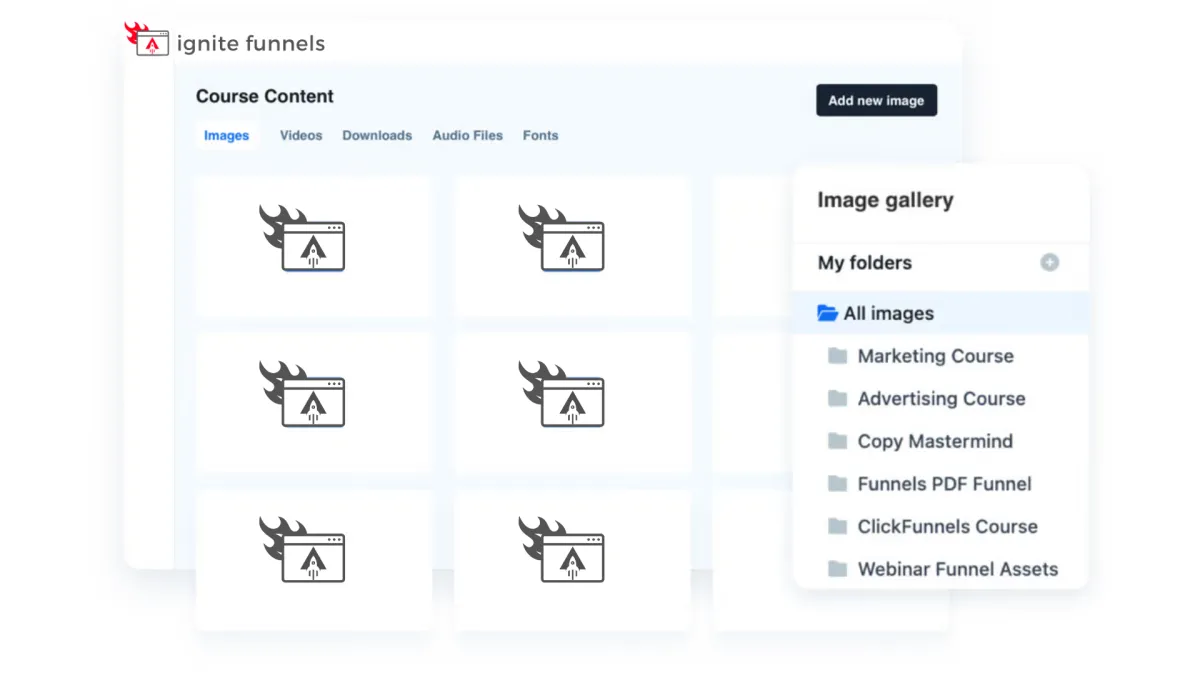
Course Management at Your Fingertips
Every feature you currently have in the editor is now at your disposal within courses! These enhanced editing capabilities empower you to take control of user enrollment right from within your courses. Easily adjust their access, view a user's completed sessions, and, if needed, even mark a lesson as completed on their behalf. Your course management has never been this efficient and user-friendly!

Social Media Management
Lorem ipsum dolor sit amet, consectetur adipiscing elit, sed do eiusmod tempor incididunt ut labore et dolore magna aliqua. Ut enim ad minim veniam, quis nostrud exercitation ullamco laboris nisi ut aliquip ex ea commodo consequat. Duis aute irure dolor in reprehenderit in voluptate velit esse cillum dolore eu fugiat nulla pariatur.
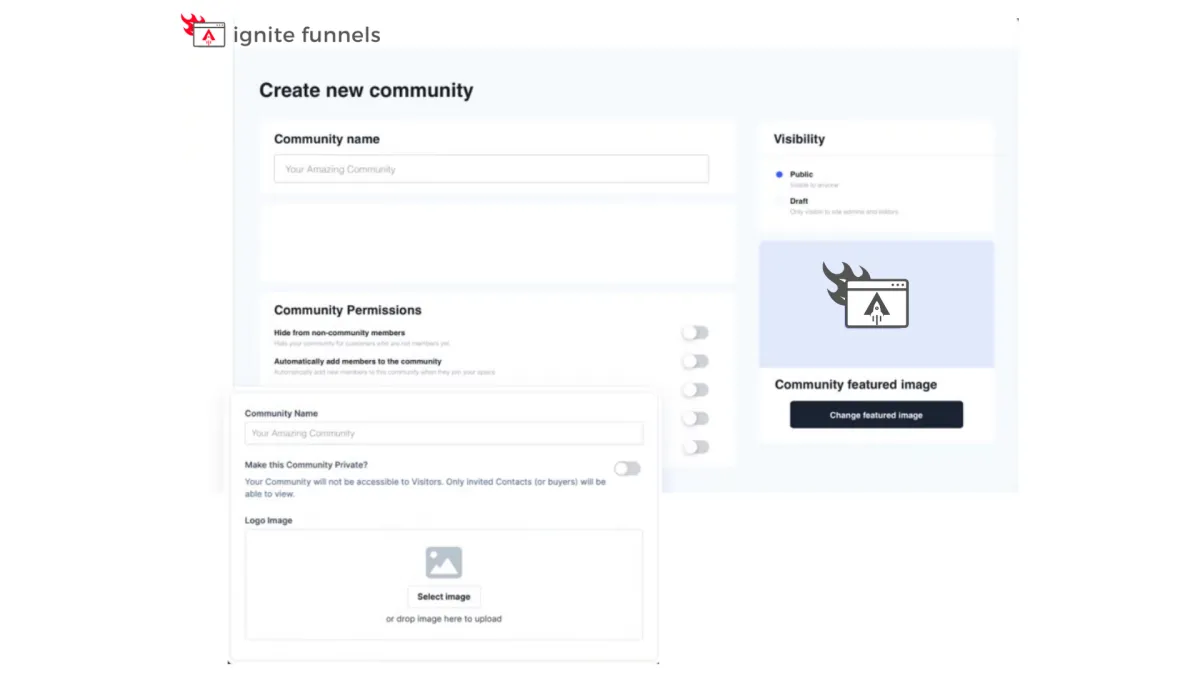
Foster Interactive Learning
Our platform empowers you to
create vibrant community forums
within your online courses. Cultivate engagement, collaboration, and knowledge-sharing among your learners.
Encourage discussions, address queries, and build a sense of belonging, enhancing the overall learning experience. With our forum feature, you can foster a dynamic community of learners, making your courses truly interactive and enriching.

Social Media Management
Lorem ipsum dolor sit amet, consectetur adipiscing elit, sed do eiusmod tempor incididunt ut labore et dolore magna aliqua. Ut enim ad minim veniam, quis nostrud exercitation ullamco laboris nisi ut aliquip ex ea commodo consequat. Duis aute irure dolor in reprehenderit in voluptate velit esse cillum dolore eu fugiat nulla pariatur.

"As a business owner, it is always important to know the numbers and statistics in your company. To know your best clients, programs, what is working or not working. Many of us spend years and thousands of dollars on software that we think will help, and spend too much money, time and effort to implement. And if we can’t understand it all, we have to invest/pay another person to understand and implement it all.
As a subscriber to multiple software platforms to keep our businesses at the forefront of the industry, I can truly share this software developed by Ignite Funnels, makes my job as the CEO a simpler one. Meaning I can see new clients coming in the door from multiple resources, our company follow up, conversions, current client’s information, sales, and special offers in one place."
Christina Nelson


